
How to Identify the Correct Genie Joystick for Your Lift
Ordering a replacement Genie joystick should be simple, but anyone who has worked with aerial lift parts knows better.
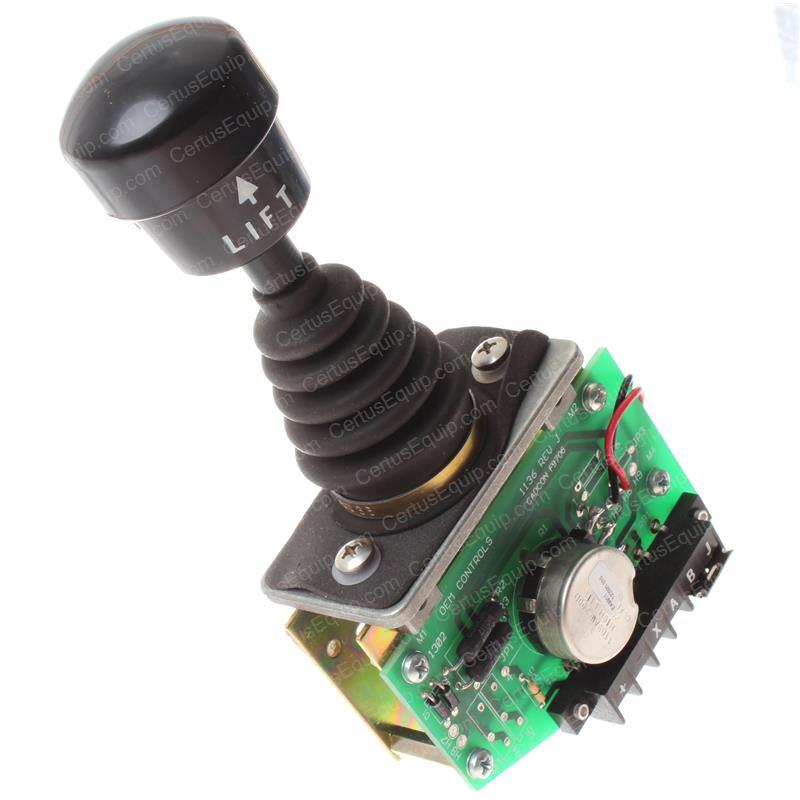
Two joysticks can look similar in a photo but still be different parts. The correct joystick may depend on the machine model, serial number range, platform control box, and the exact parts diagram for that unit.
That is why the best way to identify a Genie joystick is not by appearance alone. The safest way is to verify it using the machine’s model and serial number first.
Genie provides parts manuals and a Serial Number Smart Parts Lookup System to help identify parts by model and serial number. Genie’s own parts resources specifically point customers to serial-number-based lookup and online parts manuals for accurate parts identification.
Why the Serial Number Matters
The serial number is the most important detail when identifying Genie parts.
Genie parts manuals are organized by model and serial number range. For example, Genie’s scissor lift parts manual index separates GS models into different serial number ranges and different manual part numbers. A GS-1930, GS-2632, GS-3246, or GS-4047 may not use the same manual across all production years.
That means this is not enough:
“I have a Genie GS-2632. I need the joystick.”
A better request is:
“I have a Genie GS-2632, serial number ______. Here are photos of the platform control box, joystick, and connector.”
That gives the parts team enough information to check the correct diagram and reduce the chance of sending the wrong part.
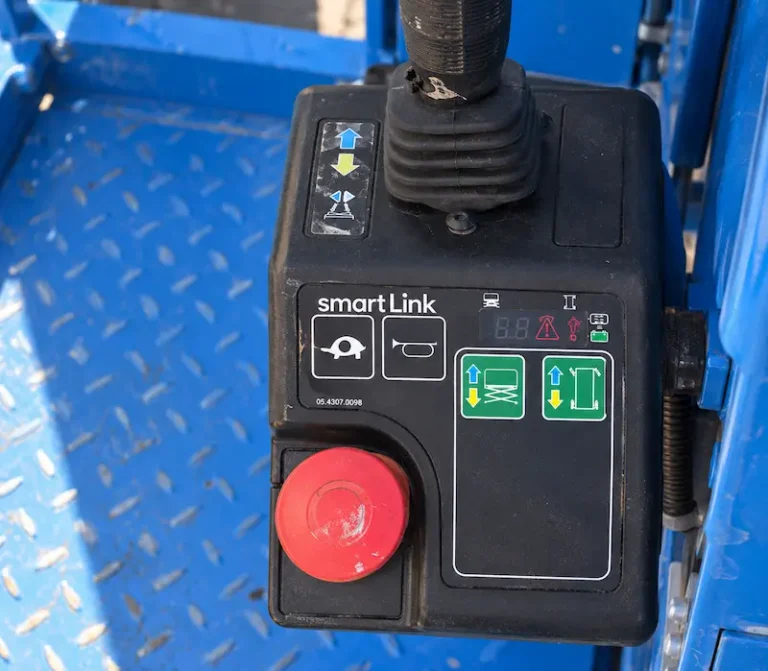
Step 1: Find the Machine Model and Serial Number
Start with the machine’s model and serial number.
You can usually find this information on the machine’s serial plate or data label. The exact location may vary by model and year, so do not guess from the decal on the side of the lift only.
Take a clear photo showing:
- Genie model
- Complete serial number
- Any readable manufacturing information on the plate
This photo is more useful than a description typed from memory because one missed letter or number can point to the wrong manual. Tiny serial-number mistakes are where parts orders go to die.
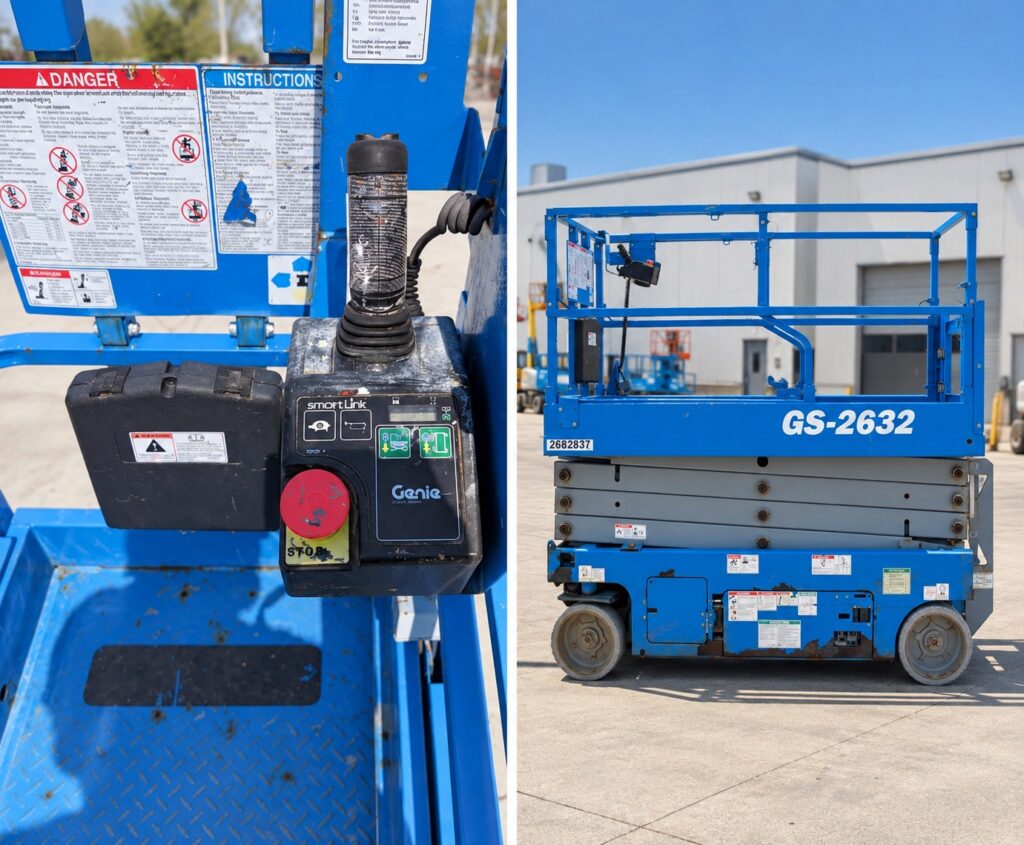
Step 2: Identify the Platform Control Box
The joystick is usually part of the platform controls, so the control box matters.
In Genie parts manuals, the platform control box and joystick may be listed in related sections. In one Genie GS-2046/GS-2646/GS-3246 parts manual, for example, the “Platform Controls” section references the joystick separately under “Joystick Controller.” That manual lists a complete platform control box and then points to a separate joystick controller section for the joystick assembly.
This is important because sometimes the customer does not need the entire platform control box. They may only need the joystick, boot, switch kit, rocker switch, trigger, handle half, or another joystick-related component.
Before ordering, take photos of:
- Full platform control box from the top
- Joystick handle
- Buttons/switches on the handle
- Base/boot area
- Inside label, if visible
- Connector or harness connection
Step 3: Look for the Existing Part Number
Check the joystick and control box carefully for labels, stickers, stamped numbers, or old part numbers.
A readable part number can help, but it still should be verified against the serial number. Older parts may have been replaced before, superseded, or installed incorrectly by a previous owner.
A good parts check uses both:
Existing part number + machine serial number
Not one or the other.
Step 4: Compare the Parts Diagram
Once you have the correct manual or serial-number lookup result, compare the diagram to the joystick on the machine.
For example, a Genie parts manual for certain GS-2046, GS-2646, and GS-3246 serial ranges lists the joystick controller section as “404.1 Joystick Controller.” In that section, Genie shows joystick-related parts including a Hall Effect single joystick, joystick boot kit, switch kits, rocker switch, handle halves, trigger, and spring.
This is the type of diagram that helps answer practical questions like:
- Do I need the complete joystick assembly?
- Do I only need the boot?
- Is the trigger broken?
- Are the function enable or steer switches the issue?
- Does the handle need replacement instead of the whole joystick?
This is also why photos help so much. A customer may call the whole thing a “joystick,” but the broken part might actually be the boot, trigger, switch, or handle.
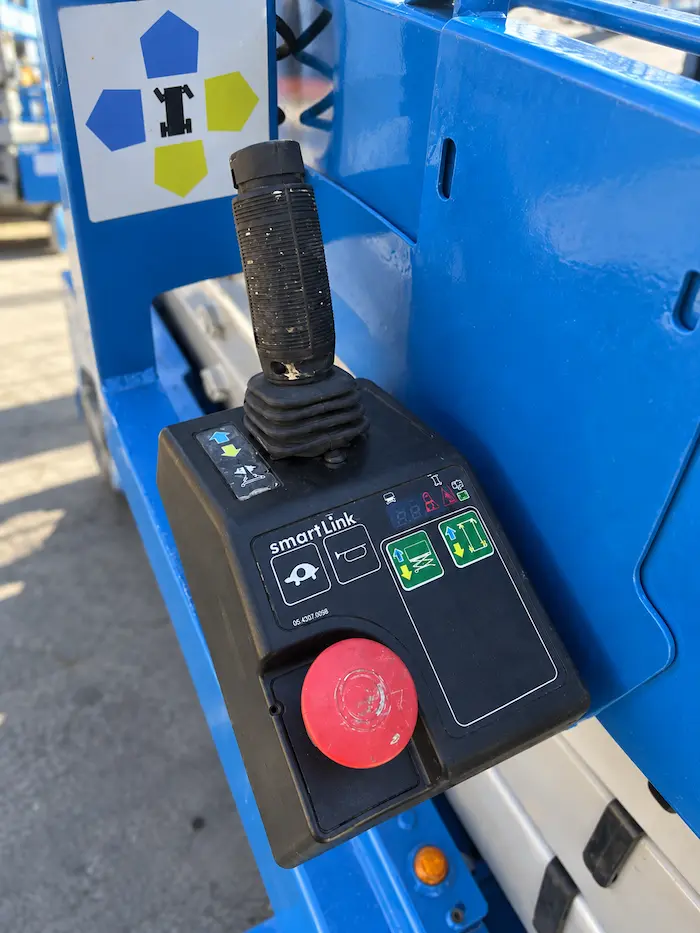
Step 5: Do Not Rely Only on Online Product Photos
Product photos are useful, but they are not enough to confirm fitment.
A joystick may look very similar online but still be wrong for the machine. The safer process is:
- Confirm the machine model.
- Confirm the complete serial number.
- Check the correct Genie parts manual or serial-number lookup.
- Compare the joystick diagram and part number.
- Review photos of the existing control box and connector.
- Confirm whether the customer needs the complete joystick or only a smaller component.
This may take a few extra minutes, but it is much cheaper than ordering the wrong electrical part.
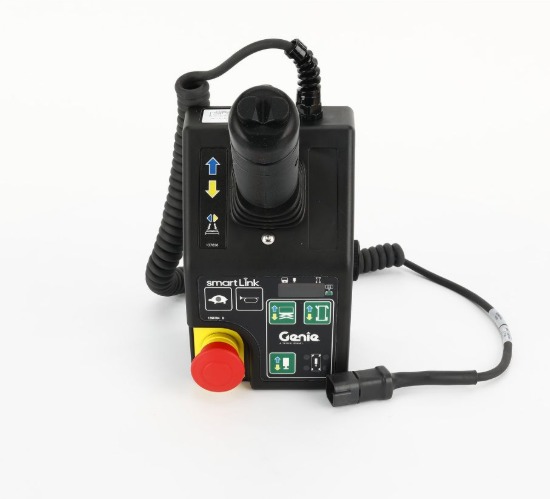
Common Mistakes When Ordering a Genie Joystick
Mistake #1: Ordering by model only
The model is not enough. Genie manuals are often separated by serial number range, so the same model family may have different manuals depending on when and where the unit was built.
Mistake #2: Ordering from a photo only
Photos help confirm details, but they should not replace serial-number verification.
Mistake #3: Replacing the joystick before checking smaller parts
Sometimes the issue is not the complete joystick. It may be a boot, trigger, switch, handle component, wiring issue, or another part of the platform controls.
Mistake #4: Assuming every drive problem is a joystick problem
A machine that will not drive may have a joystick issue, but it could also have another electrical, battery, control, wiring, or machine fault. When in doubt, troubleshoot before replacing parts.
What Information Should You Send Before Ordering?
To help identify the correct Genie joystick, send:
- Machine model
- Complete serial number
- Photo of the serial plate
- Photo of the platform control box
- Close-up photo of the joystick
- Photo of the connector or harness
- Any number printed on the joystick or control box
- Description of the problem
- Any fault code or alarm showing on the machine
The more complete the information, the faster the part can be verified.
Need Help Finding the Correct Genie Joystick?
At Certus Equipment, we help customers identify Genie replacement parts using model, serial number, photos, and parts diagrams.
Send us your machine information and clear photos before ordering, and our team can help verify the correct joystick or joystick-related component for your lift.
We supply Genie OEM parts and aftermarket replacement parts for many aerial lift models.
Need help? Contact Certus Equipment with your model, serial number, and joystick photos, and we’ll help you confirm the right part before you buy.

 Extend the life of your equipment